Are you looking to desmontar techo Volvo XR70? Whether for repairs, modifications, or curiosity, this guide will provide detailed, step-by-step instructions on how to remove the roof of your Volvo XR70 successfully. We will cover everything from the tools you’ll need to the entire process, ensuring that you clearly understand how to complete this task by the end.
Contents
Overview of the Volvo XR70
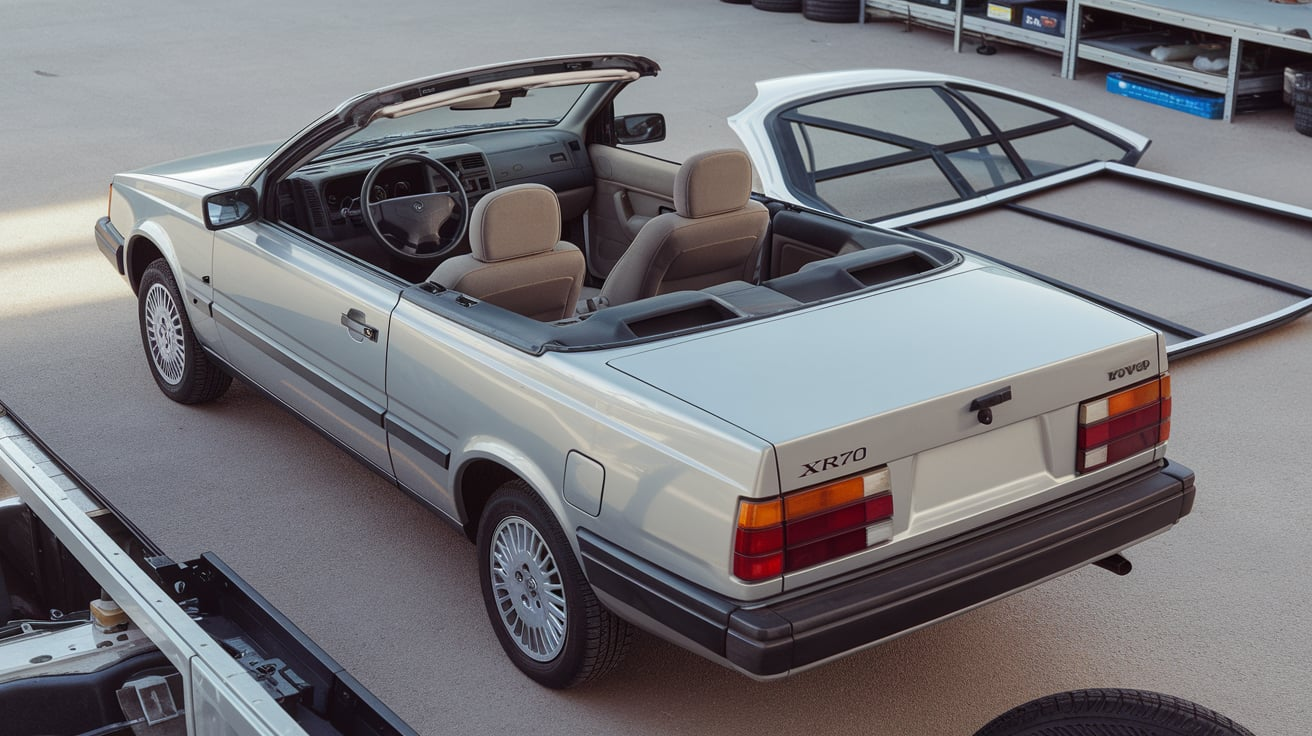
Before diving into the “desmontar techo Volvo XR70” process, let’s briefly appreciate the car itself. The Volvo XR70, a robust and stylish crossover SUV, is known for blending the comfort of a luxury car with the durability of an off-road vehicle. The car has a spacious interior, advanced safety features, and a unique roof design that enhances its aesthetic and functionality.
However, whether due to damage, customization, or maintenance, there may come a time when you need to remove the roof. Removing the roof, or “desmontar techo Volvo XR70,” can seem intimidating, but it can be a manageable task with the proper preparation and knowledge.
Why Would You Desmontar Techo Volvo XR70?
You might wonder why anyone would want to desmontar techo Volvo XR70. The reasons can vary, and here are some of the most common ones:
- Roof Damage: Accidents, weather-related damage, or normal wear and tear may require you to remove the roof for repairs.
- Roof Replacement: If the roof is too damaged to repair, replacing it entirely may be more cost-effective.
- Customization: Some owners remove the roof to customize or modify their vehicles for a unique look.
- Maintenance Access: Removing the roof may make it easier to access other car parts for repairs or upgrades.
- Vehicle Conversion: Rarely, some may want to convert their vehicle into another style, such as a convertible.
Understanding how to design the Volvo XR70 is crucial for doing it safely and correctly.
Tools You Will Need
Before beginning, gather the necessary tools to desmontar techo Volvo XR70. Having everything ready ensures a smooth process without interruptions.
- Socket set and ratchet
- Flathead and Phillips head screwdrivers
- Trim removal tools
- Pliers
- Wire cutters
- Electrical tape
- Work gloves and safety glasses
- Jack and jack stands (if needed to lift the vehicle)
- Windshield removal tool (for removing the windshield)
Make a point to work in a sufficiently bright and ventilated region. Always prioritize safety by wearing proper equipment and having a clear, stable workspace.
Step-by-Step Guide to Desmontar Techo Volvo XR70
Now that you’re prepared let’s move on to the desmontar techo Volvo XR70 process. Follow each step carefully to ensure the task is completed efficiently and safely.
Step 1: Prepare Your Volvo XR70
The first step in any car-related task is to prepare the vehicle:
- Park your car on a flat, stable surface.
- Engage the parking brake.
- Disconnect the car battery to prevent any electrical hazards.
- Clear out any personal belongings or loose objects from the interior.
- Cover the seats, dashboard, and other sensitive areas to protect them from debris or damage.
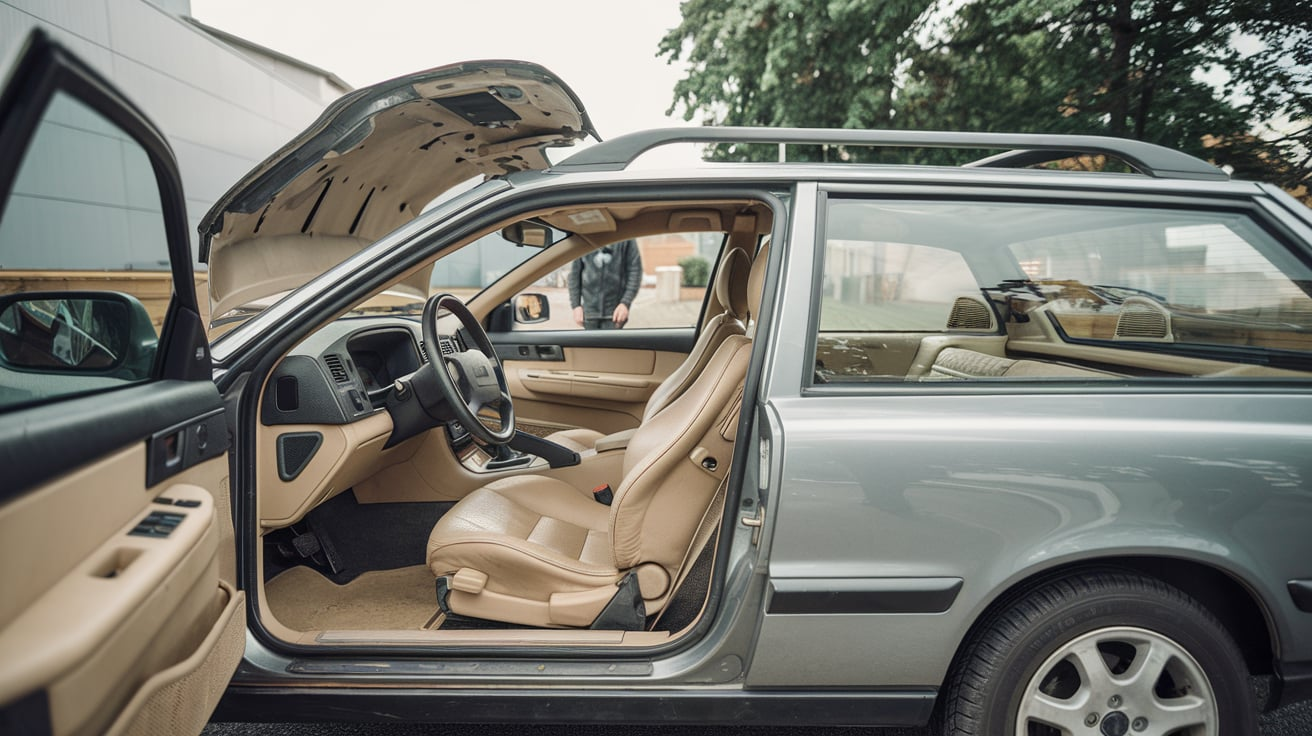
Step 2: Remove the Interior Trim
To begin the desmontar techo Volvo XR70 process, you must remove the interior trim that connects to the roof.
- Start by unscrewing and removing the sun visors.
- Remove the overhead console carefully, disconnecting any wiring if necessary.
- Detach the grab handles above the doors.
- Take out any trim pieces along the edges of the roof and headliner.
Work slowly to avoid damaging the interior components.
Step 3: Disconnect Electrical Components
Your next step is to disconnect the electrical components attached to the roof:
- Identify the wiring harnesses connecting interior lights, the sunroof motor (if applicable), and the antenna.
- Carefully unplug each wire and label them for easier reassembly.
- Don’t forget to remove any grounding wires attached to the roof structure.
This step is essential to prevent electrical issues during or after the process.
Step 4: Remove the Windshield
In most cases, removing the windshield is necessary to dismount the Volvo XR70 fully.
- Remove the windshield wipers first.
- Detach the cowl panel located at the base of the windshield.
- Use a windshield removal tool to cut through the adhesive securing the windshield.
- With the help of a friend, carefully lift the windshield out of the frame.
This step can be tricky, so ensure you have help, as windshields are heavy and fragile.
Step 5: Detach the Roof
Now it’s time to begin the actual process of desmontar techo Volvo XR70:
- Locate the bolts along the roof’s edges that secure it to the vehicle’s body.
- Use your socket set to remove these bolts, keeping track of where each bolt belongs.
- If there are spot welds, use a drill to remove them carefully.
- Ensure there is no adhesive or additional fasteners still holding the roof.
Always check all attachment points before attempting to lift the roof off.
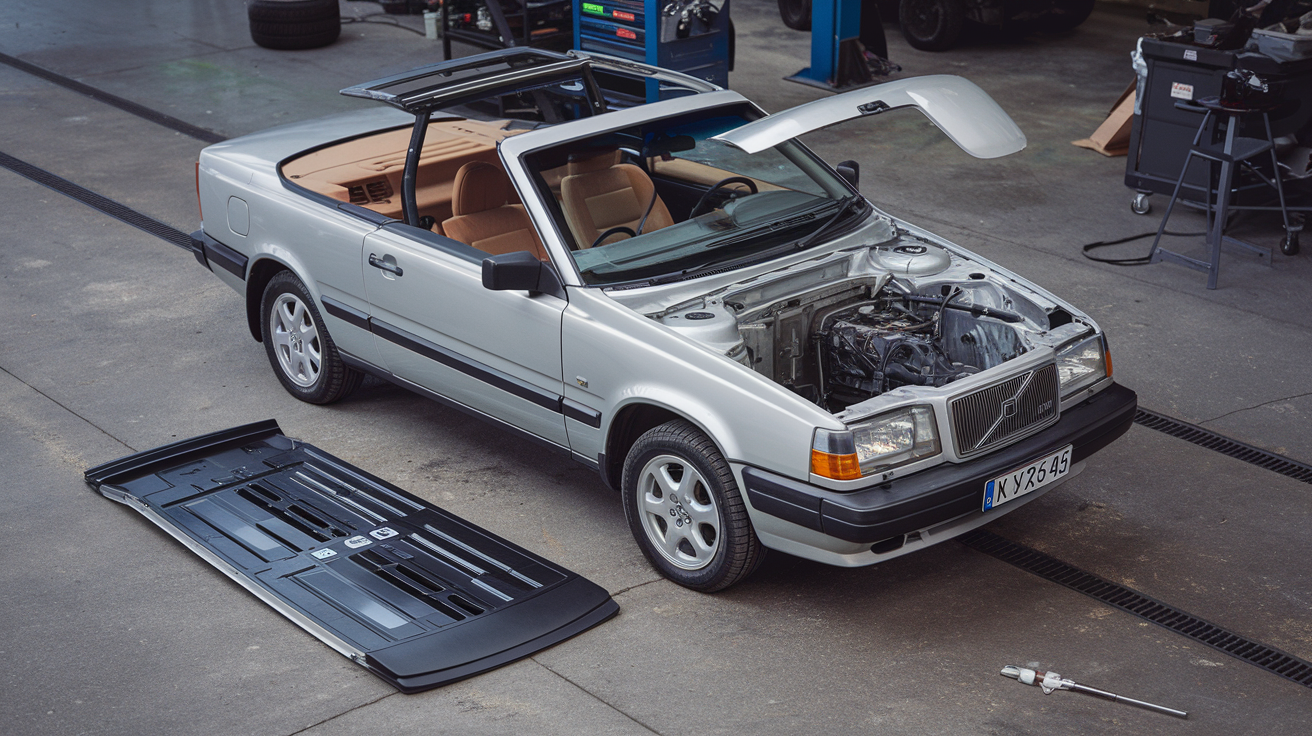
Step 6: Lift Off the Roof
With the bolts and other attachments removed, you’re now ready to lift off the roof:
- With the help of at least one other person, gently lift the roof straight up and off the vehicle.
- Be careful not to damage the paint or remaining body parts.
- Set the roof aside on a soft surface to avoid scratches or dents.
This is the most challenging step in the desmontar techo Volvo XR70 process, so don’t rush it.
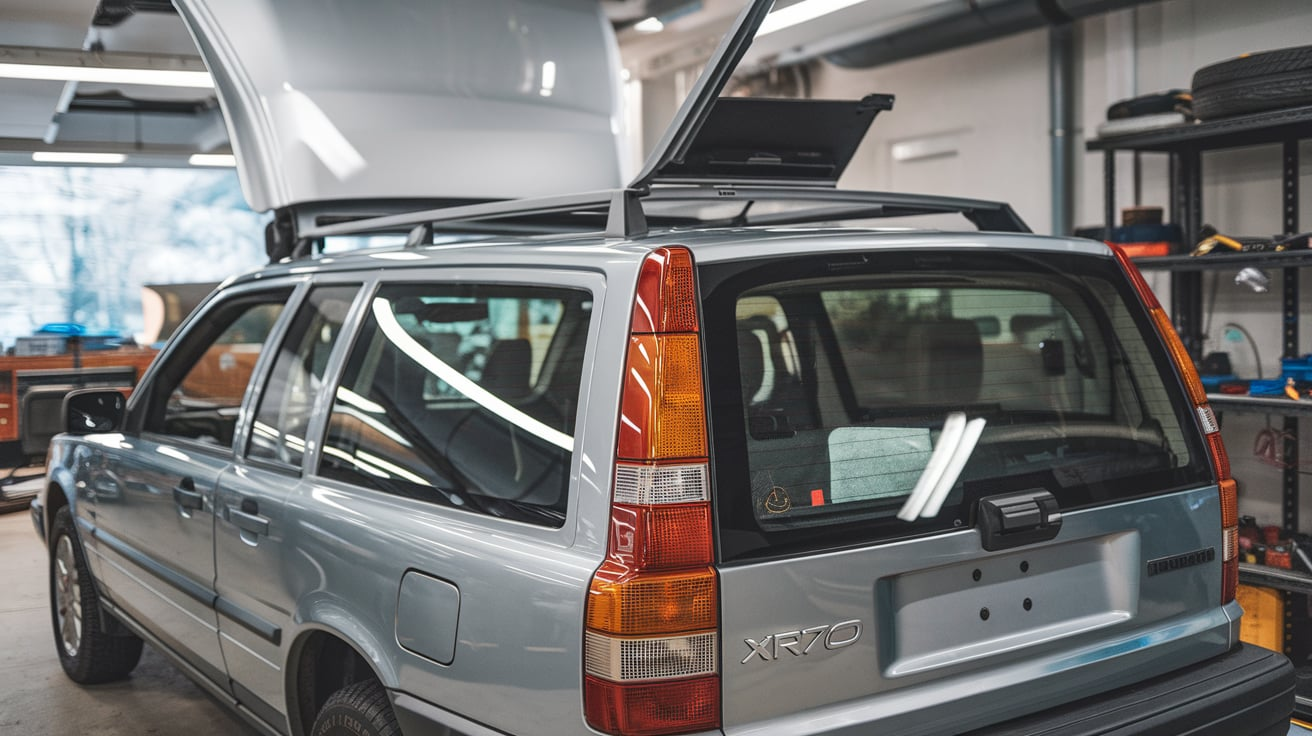
Step 7: Clean and Inspect the Vehicle
After removing the roof, inspect the car:
- Clean any adhesive, debris, or dirt from the areas where the roof was attached.
- Inspect the vehicle for any signs of rust or damage.
- If the roof will be replaced or reinstalled later, store it safely to avoid warping or other damage.
Common Issues When Removing the Roof
Even if you follow the process carefully, there are a few challenges that you might encounter while you desmontar the Volvo XR70:
- Stuck bolts or screws: These may require penetrating oil or heat to loosen.
- Hidden fasteners: Make sure to check thoroughly for any clips, screws, or adhesives that you might have missed.
- Electrical complications: Take extra care when handling wires and connectors to avoid damaging them.
Safety Considerations
Removing a car roof is a significant task, and safety should always come first when you desmontar the Volvo XR70:
- Always wear protective gear, including gloves and safety glasses.
- Use proper lifting techniques and avoid lifting heavy parts alone.
- Be cautious around sharp edges when removing metal components.
- Ensure the structural integrity of your vehicle is not compromised after roof removal. If you’re unsure, consult a professional.
After Removing the Roof: What’s Next?
Once you’ve completed the desmontar techo Volvo XR70 task, there are several directions you can take:
- Repairs: Repair any damage to the roof or the car’s body.
- Replacement: Install a new or upgraded roof.
- Customization: Add new design elements or modifications.
- Maintenance: With the roof removed, you may have better access to perform other repairs or upgrades.
Conclusion
The desmontar techo Volvo XR70 process may seem daunting, but with the right tools, patience, and attention to detail, it’s possible to do it yourself. Whether you’re making repairs, installing a new roof, or performing a customization, following this guide will help you confidently tackle the project.
Always prioritize safety, and if at any point you feel unsure, don’t hesitate to seek professional assistance. You can complete the roof removal by taking your time and approaching each step carefully.
Read More Passigraphy by Maimieux